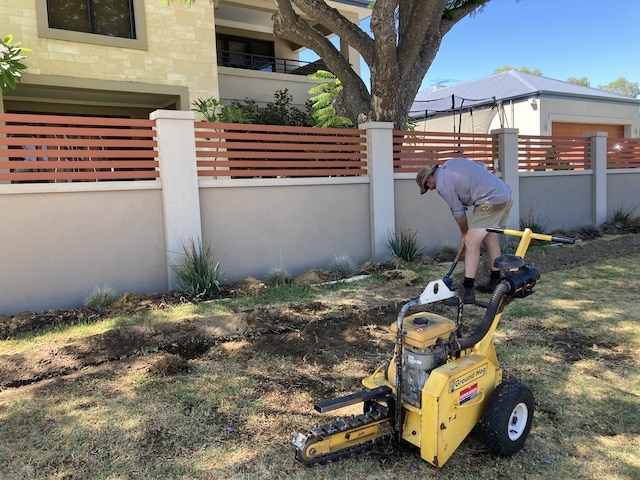
Maybe you are building a new home and need to keep your lawns low maintenance, or want to install a new system to irrigate your existing lawns – hand watering is definitely not the best long-term option!
Maintaining a healthy, vibrant and green lawn in Perth’s hot climate makes a lawn irrigation installation a must for proud homeowners who want it to look good but don’t have time to do it by hand.
If you are wondering how to install a lawn irrigation system, or looking at whether you should be getting a professional in to do the job for you, read on for our tips in this lawn irrigation installation guide…
If you are planning a DIY Irrigation System, you will find information on how to:
- Start with a plan
- Determine your pressure and flow rates
- Create your system zones
- Know your soil type
- Choose between manual or automatic irrigation
- And finally, a very brief overview of the installation process!
And if that’s all too much, we’ll also explain how our professional lawn irrigation installation teams can do it for you!
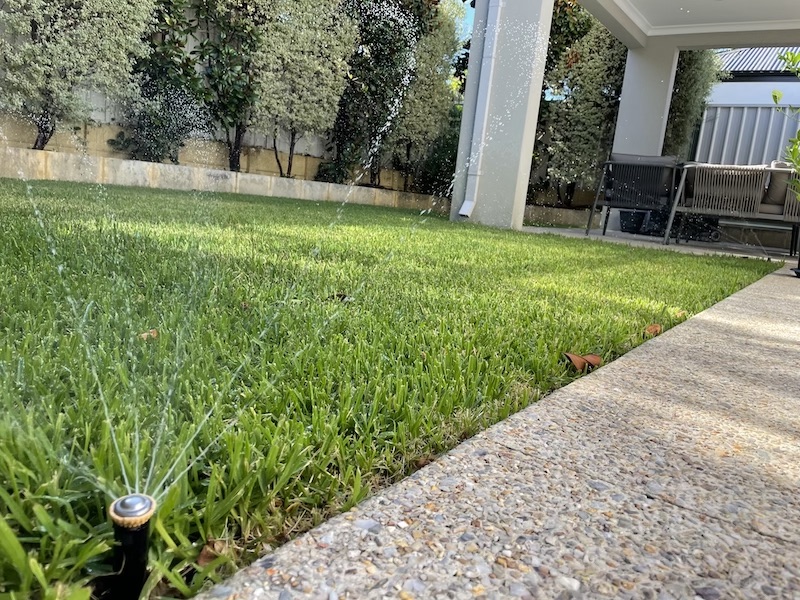
DIY Irrigation System
If you have bravely decided to give a DIY irrigation system a go, there are a few things to take into consideration first.
Whatever lawn irrigation system you choose, it’s important to first consider the areas which will need watering, where the sprinklers or hoses will be placed, what your system will need to look like based on the water pressure and flow rates you have to work with, along with the important questions of what you’re going to spend and how much time you have to do this.
TIP: If you are putting a new irrigation system in place before your lawn installation, make sure you request a watering exemption before the lawn is laid to make sure you can water extra outside of your rostered watering days while the lawn establishes.
If you decide to go the DIY route for installing an irrigation system for your home, you can follow this easy, step-by-step guide to help you get started. Our guide is based on installing an irrigation system, rather than a few movable sprinklers connected to a hose, but even if that is the way you would like to go, some of the steps below will still be useful for you to know.
Start with a plan.
Measure and map your garden or yard, taking into consideration your current garden beds, trees as well as your lawn area. When you’re drawing out your map, make sure to include any obstacles such as trees, fences or garden ed and include as much information as possible (all garden and lawn areas, any paths or driveways, where your taps are located). That means drawing to scale (1:100 is ideal for most gardens, for smaller gardens 1:50 is fine).
Make sure the location of your manifold, or water connection point, is shown. Some reticulation parts suppliers will help you figure out the quantities and types of parts you need if you can send them a detailed enough plan of the area, or if you take it into their store they mark it on the paper where things should be placed.
But if not, at least this allows you to start with a clear understanding of your space and what you have to work with.
Determine your flow rate and water pressure.
This is a critical step, without knowing the water pressure and rate of the water flow, you won’t be able to figure out how many sprinklers/solenoids you need or how long your system run times should be, etc.
For example, for Perth lawns with sandy soil, the recommended amount of water in a watering session is 10mm. As the standard watering rate for a sprinkler is about 35-45mm per hour, which means that you would need to run them for about 13-16 minutes to deliver about 10 mm of water to your lawn.
But, those calculations can be different based on your property’s flow rate, and the type of sprinklers you use – as each type of sprinkler will be able to conduct water at different rates.
How to determine your flow rate:
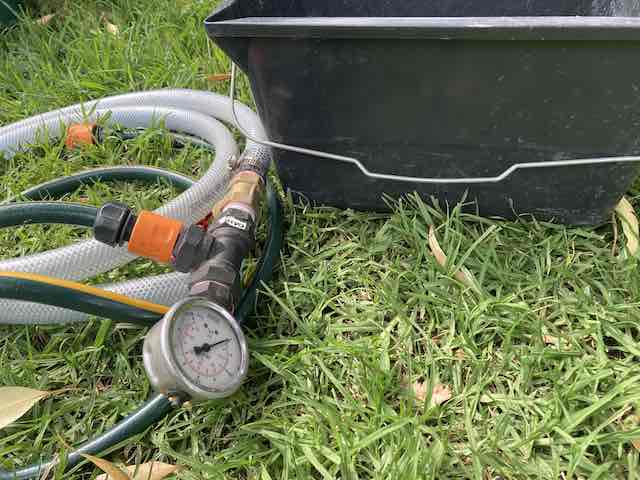
Doing a flow test will give you a good understanding of how many sprinklers you can run at once. To do this, measure the time in seconds it takes to fill up a 9L bucket at your tap on full pressure. You will arrive at the maximum flow rate per minute by using this formula: 9 / (time in seconds it took for the bucket to fill up) x 60 – i.e. if the bucket gets filled in 20s: 9/20=0.45; 0.45X 60=27L/min.
How to determine your water pressure:
To test the water pressure available at your property – as they are all different – you will need a pressure gauge. These are available from most irrigation stores. Attach the gauge to your tap, open the tap fully and read the results.
Make sure to repeat this process for each tap (if you have multiple) to get a good average. Especially if you are creating a system for both your front and back lawns as they can be different. When doing the test make sure nothing or no one in your house is using water (e.g. washing machine, shower, etc.)
Once you have this, you can provide it to your supplier along with your site plan and they should be able to advise on what you need to begin your lawn irrigation installation.
Divide your lawns into zones.
To avoid wasting water, each zone should require the same amount of water at about the same frequency. This step is vital to making sure that you don’t use more water than you need and end up with a big water bill, or not watering areas that need it and having a patchy lawn.
For example, irrigation experts know that you cannot put drippers and lawn sprayers in the same zone. Doing this gives uneven water coverage and results in inefficient water use.
A general rule is that you can’t have over 60 to 75 percent of the total pressure going straight into your irrigation system. This is where valves or solenoids come in, as they allow you to separate your system into ‘zones’, each using its own valve so they can water each area of your lawn at different times. So again, you’ll need to get advice from an expert if you are unsure about how many zones you need.
Tip: To avoid dry spots, sprinklers should be installed so that one sprinkler sprays onto the adjacent sprinkler for head to head coverage.
Know your soil type.
If you live in Perth, you know how sandy the soil can be – but did you know that it impacts your lawn irrigation system design?
Sandy soil requires closer spacing as the water tends to drain through on sand while clay soil needs wider spacing as the water tends to travel laterally more on clay. As a general rule, a run of dripline should be placed every 30cm to create a grid pattern that places a dripper at each corner. Have a chat to a lawn irrigation specialist about this if you are unsure what you need.
Decide if you want a manual or automatic system.
Manual irrigation systems are the cheaper initial option, especially if you have started looking around and getting quotes/estimates.
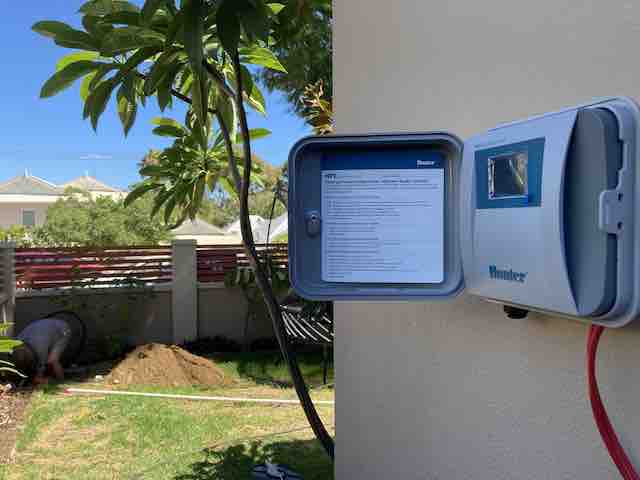
A fully automated reticulation system, one where your lawns and gardens are watered whether you are home or not, requires more work and costs more initially. This type of system will require a controller, solenoid valves, and multi-core cable – and an electrician if you want/need your controller to be hardwired, not just plugged in.
However, how much did/will your lawn cost – and how much time do you have? An automated lawn irrigation system will save you time, keep your lawn watered and healthy even if you go on holiday, and generally make life easier.
Choose your reticulation controller
We always recommend an automated lawn irrigation system using a reticulation controller. This enables you to ensure your lawn is irrigated on the right days, at the right times, whether you are home or not. A tap timer is an inexpensive option, and means you don’t have to stand there with a hose, but still requires a bit more of your time and attention. Also, you may find that sometimes the tap has been accidentally switched off, and you only notice when your lawn is looking dry and brown – which may sometimes be too late to save it!
An automated controller provides much more peace of mind in the long run!
Now that you have your site plan, you know what your water pressure and flow rates are, and have decided on what type of system you want, you may be ready to approach a supplier and get a quote for the parts you need – so the next step is to install it!
Installing your Lawn Irrigation System
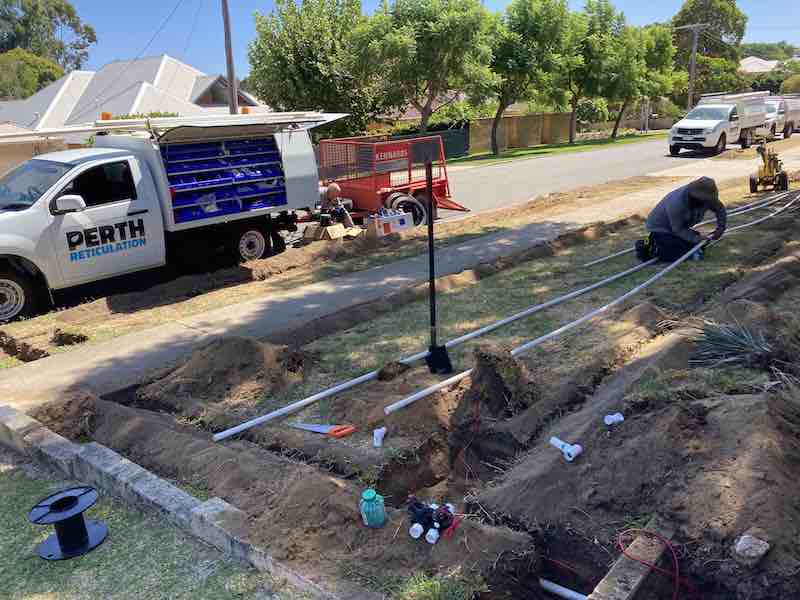
This is the hard part. Now you will need to:
- Lay down mason line/spray paint the lines for the pipework
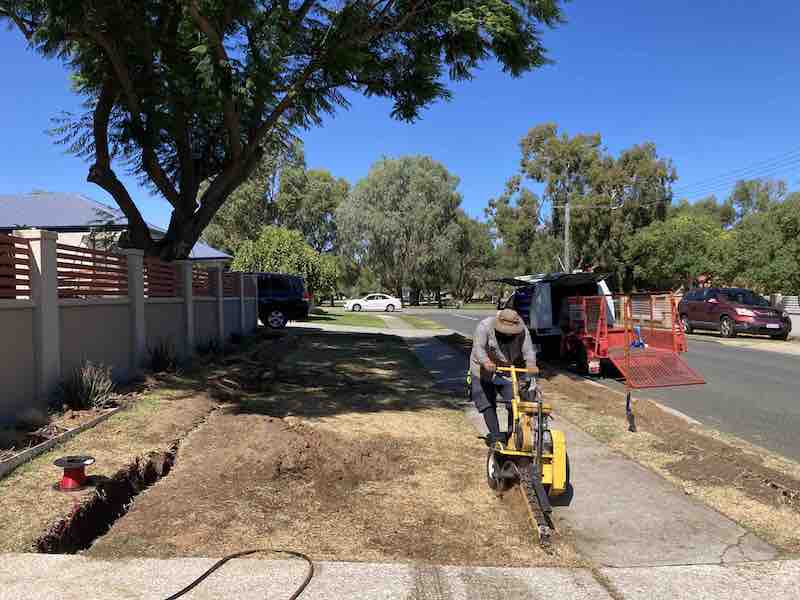
- Trench/dig out the dirt to create the system pipeline (dig to about 8-10 inches)
- Connect your pipe to your water connection
- Install your control valve
- Lay and assemble the pipework
- Lay out your sprinklers where they are needed
- Secure/glue/attach all fittings and finish the installation
- Connect your valves and install/set up your controller
- Fill in all your trenches and clean up the area.
This is a very brief overview of the installation process – this can take at least a day of hard yakka to complete, assuming nothing goes wrong, you have the right amount of fittings, and your trenching/digging doesn’t bring to light obstacles under the surface like rocks or buried walls!
You would be amazed at the things we have found during an installation including old irrigation systems that weren’t removed, buried building rubble, and old concrete driveways or paths which were buried and forgotten!
You’ll want to make sure that you have plenty of time for the installation, along with good weather conditions.
Ready for your lawn irrigation system installation?
We hope this has given you a good understanding of the steps, and work, involved in planning your DIY irrigation system project.
An important thing to remember is that, once your system is installed, it will require maintenance. We find that the majority of reticulation repair callouts we receive are to fix systems that have been DIY – not installed by professionals.
While it will always be more expensive to get a professional reticulation company to install your system, it will also:
- Make sure your system design is optimised
- Reduce water wastage
- Reduce maintenance bills in the long run
- Save you at least 1-2 days of time with planning and installation
But, if you want to DIY, we are always here to help if you run into any system issues in the future.

