Irrigation design is an important aspect of landscape design and maintenance, as it helps to ensure that plants, gardens, and lawns receive the proper amount of water they need to thrive. An effective irrigation system can help to conserve water and reduce water waste, making it a sustainable and environmentally-friendly solution for landscaping. In this article, we will provide a step-by-step guide to designing a reticulation system for your home, including why it is important and how to do it effectively.
Why You Should Design an Irrigation System Before Installing

Designing an irrigation system properly before you start to install it/ have it installed is key to making sure your investment of time and money is done effectively – and once!
We come across many systems which were installed rather haphazardly, leading to the homeowner calling us less than a year later because of so many issues and the ongoing cost of band aid fixes. It ends up cheaper and less work to just pull it all out and design and install a new system professionally and from scratch. So make sure that isn’t you by planning ahead and getting the input of a professional!
There are several reasons why designing a reticulation system for your home is important:
Water conservation: An effective irrigation system can help to conserve water by delivering the right amount of water to plants, gardens, and lawns. This can help to reduce water waste and minimise the need for excess watering.
Plant health: Proper irrigation can help to keep plants healthy by providing them with the right amount of water they need to thrive. Overwatering or underwatering can lead to plant stress and even death, so it is important to design an irrigation system that meets the specific watering needs of your plants.
Landscape maintenance: A well-designed irrigation system can help to reduce the time and effort required for landscape maintenance, as it ensures that plants and gardens are getting the water they need without the need for manual watering.
Cost-effective: An efficient irrigation system can help to save money on water bills by reducing water waste and ensuring that plants are getting the right amount of water they need.
Whilst you most certainly can do this yourself, it’s always better to enlist the help of professionals and explain why/ what could go wrong if you attempt to do it yourself.

Our irrigation design guide.
Here is our step-by-step guide to designing a reticulation system to help you make sure your system installation is successful and will make sure your garden and lawn areas are effectively watered.
1. Assess your irrigation needs
The first step in designing a reticulation system is to assess your irrigation needs. This includes considering the size of your landscape, the types of plants and gardens you have, and the climate and weather conditions in your area. You will also need to consider the water availability and pressure in your area, as well as any water restrictions or regulations that may be in place.
2. Check your watering roster
Head to the Water Corporation website to check the watering schedule for your area – for both bore or mains systems you will be allowed only 2 days a week for watering. If you are designing your irrigation system because you are installing plants or a new lawn, you will need to apply for an exemption on the day the plants or lawn are installed. Make sure you take the roster into account with your parts/system choices so you can maximise your allocated watering times.
3. Choose the right irrigation method
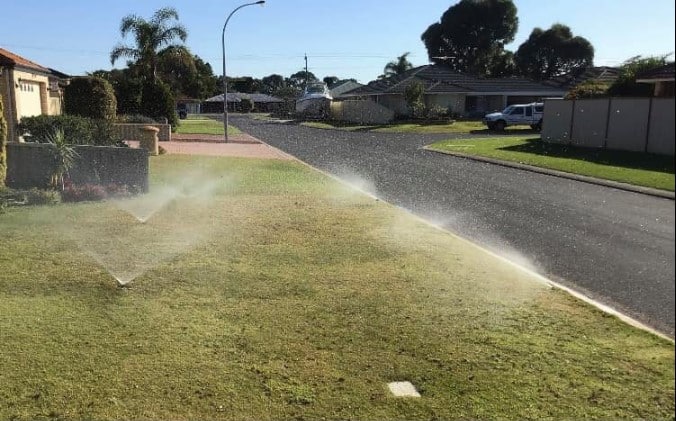
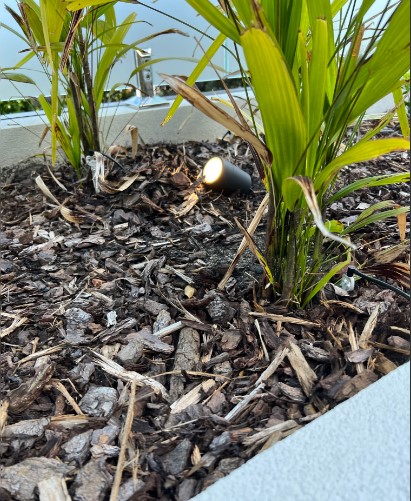
There are several different irrigation methods to choose from, including spray irrigation, drip irrigation, and underground irrigation. Each method has its own benefits and drawbacks, and it is important to choose the right one for your specific needs. For example, drip irrigation is a good choice for watering individual plants or small gardens, while spray irrigation is more suitable for larger areas.
4. Determine the coverage area of your irrigation system
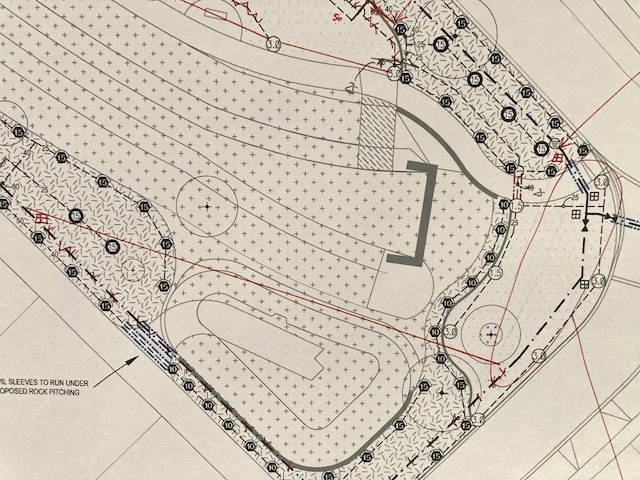
Once you have assessed your irrigation needs and chosen the right irrigation method, you can begin designing your irrigation system. This includes planning the layout of your irrigation system. First, determine the area that needs to be irrigated, including the size and shape of the landscape and the specific plants or garden areas that need watering. This will help you to determine the size and placement of your sprinklers and other components of the irrigation system. You may also need to consider factors such as slope, soil type, and sunlight exposure when designing your irrigation system.
5. Consider the water rates
The water pressure/flow in your area will impact the performance of your irrigation system, so it is important to consider this when planning the layout. If the water pressure is too low, the sprinklers may not work properly, while if the water pressure is too high, it can lead to overspray and waste. You will need to determine the water pressure and flow rates to help in determining the size and placement of sprinklers, how many zones your system will need and the amount of water needed for each plant or garden area.
6. Choose your parts
You’ll need to select the controller you want to use, along with the brands of parts. We only use top-quality, leading irrigation system brands such as Toro and Hunter. While they cost more initially, you won’t need to replace parts as often and they will work more efficiently in the long term. When choosing your sprinkler heads, make sure to research their coverage and watering rates and use that to determine your sprinkler system design.
7. Install your irrigation system
Once you have designed your irrigation system, it is time to install it. This involves laying out the pipes, sprinklers, and other components of your irrigation system according to your design plans. It is important to follow the manufacturer’s instructions and local building codes when installing your irrigation system to ensure it is done properly. Most systems take our expert reticulation technicians about 1-2 days in a team of two to complete – and they are fully commercially equipped and experienced. So make sure you set aside at least 2-3 days and bring in some friends to help if you decide to DIY!
8. Test and adjust your irrigation system
After your irrigation system has been installed, it is important to test it to make sure it is working properly and delivering the right amount of water to your plants. This may involve adjusting the sprinkler heads or making other adjustments to the system. It is also important to regularly maintain your irrigation system by checking for leaks, cleaning the sprinkler heads, and replacing any damaged parts.
DIY Irrigation Design or Get The Professionals In?
In conclusion, designing a reticulation system for your home is an important aspect of landscape design and maintenance, as it helps to ensure that plants, gardens, and lawns receive the proper amount of water they need to thrive. An effective irrigation system can help to conserve water and reduce water waste, making it a sustainable and environmentally-friendly solution for landscaping.
By following the step-by-step guide outlined in this article, we hope you have a better understanding of how you can design and install an irrigation system that meets the specific needs of your landscape. But, now that you have seen how important it is to have an expert design and install your system, you may prefer to get the professionals on the job!
If you’re looking for some help with your irrigation design and installation for your residential or commercial property in Perth call us today on 08 6263 4644 or contact us at Perth Reticulation Experts today!

